

For over a decade, a persistent myth has haunted the cybersecurity industry: that effective vulnerability management is a luxury reserved for those with enterprise-sized budgets. CISOs and security managers have been led to believe that free, open-source tools are toys, incapable of providing the comprehensive coverage needed for serious corporate environments. In 2025, that myth is a liability.
OpenVAS (Open Vulnerability Assessment System), the open-source scanner at the core of the Greenbone Vulnerability Management (GVM) framework, has matured into an undisputed powerhouse. It now rivals its expensive commercial counterparts, like Tenable’s Nessus, in nearly every critical metric, offering robust scanning, detailed reporting, and a massive vulnerability database—all for a total cost of zero.
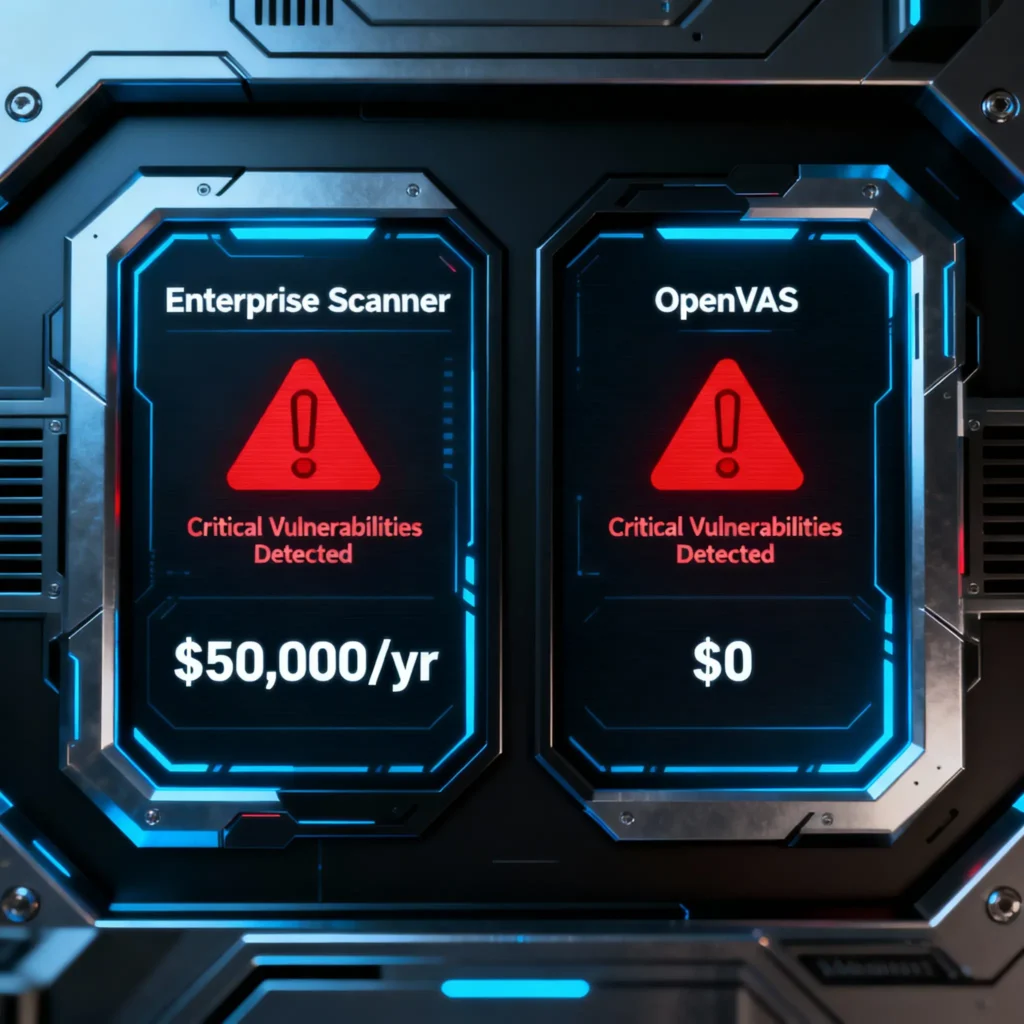
As a security consultant who has deployed both platforms extensively, my findings are clear: for at least 80% of organizations, OpenVAS delivers all the necessary functionality without the crippling licensing fees. This guide is a practical, no-nonsense roadmap to deploying and mastering OpenVAS, demonstrating why a strategic migration to this powerful open-source tool is one of the smartest financial and security decisions your organization can make.
1. OpenVAS vs. Nessus: The 2025 Value Proposition
The primary justification for expensive scanners has always been their proprietary vulnerability databases and polished feature sets. By 2025, the open-source community, led by Greenbone, has effectively closed this gap. The OpenVAS community feed now provides access to a comprehensive and rapidly updated set of over 100,000 Network Vulnerability Tests (NVTs), ensuring coverage for the vast majority of critical and actively exploited CVEs.gorilla360
| Feature | OpenVAS (Greenbone Community Edition) | Nessus Professional | Winner & Analysis |
|---|---|---|---|
| Cost | $0 (Completely Free) | ~$5,990+ per year | OpenVAS. The savings are immediate and can be reallocated to hiring security talent or funding other critical tools. |
| Vulnerability Checks | 100,000+ NVTs (Community Feed) infosectrain | 160,000+ Plugins gorilla360 | Tie. While Nessus has more, the OpenVAS feed covers nearly all CVEs that matter for most organizations. The real-world difference in critical findings is negligible. |
| Credentialed Scanning | Excellent. Full support for SSH (Linux) and SMB (Windows). | Excellent. Robust support with a slightly more user-friendly setup. | Tie. Both tools excel at deep, authenticated scanning, which is essential for accuracy. |
| GUI & Ease of Use | Functional but dated. Steeper learning curve comparitech+1. | Modern, polished, and intuitive UI. | Nessus. Nessus is significantly easier for teams without deep Linux or command-line experience to get started with. |
| Compliance Reporting | Good. Community-provided policies for standards like CIS are available but require customization. | Excellent. Certified, audit-ready, out-of-the-box reports for PCI DSS, HIPAA, etc. | Nessus. For heavily regulated industries, Nessus’s polished compliance modules save significant time and effort. |
| Open Source & API | Yes. Fully open-source (GPL) with a powerful XML-based API for automation (gvm-tools). | No. Closed-source with a REST API available for automation. | OpenVAS. The ability to audit the source code and freely integrate with any tool provides unparalleled flexibility. |
2. Installation & Configuration: Overcoming Common Hurdles
While powerful, OpenVAS’s open-source nature means installation can be challenging for beginners. Here are the most common problems and their proven solutions.
Problem: Feed Synchronization Fails or is Stuck
This is the #1 issue new users face. The initial sync of the vulnerability database (NVTs) is massive and can time out due to network issues or resource constraints.
Solution: Be patient and run the sync manually from the command line: sudo runuser -u _gvm -- greenbone-feed-sync. This provides more verbose output to diagnose failures. Plan for the initial sync to run overnight.
Problem: gvm-check-setup Script Reports Errors
The gvm-check-setup script is your best friend for diagnostics. Errors usually point to a stopped service, incorrect file permissions, or a database issue.
Solution: Read the script’s output carefully. It will provide a FIX suggestion for almost every problem. Most issues are resolved by restarting services (sudo systemctl restart ospd-openvas) or fixing permissions as suggested.
Problem: Web UI at https://localhost:9392 is Unreachable
This typically means the Greenbone Security Assistant (gsad) web service is not running or is being blocked by a firewall.
Solution: First, check the service status: sudo systemctl status gsad. If it’s not running, start it. If it is running, check your local firewall (ufw on Ubuntu) to ensure it allows inbound traffic on TCP port 9392.
Recommended Installation Method: For the most stable and pain-free setup, use the official Greenbone Community Docker containers. This method isolates all dependencies and pre-configures the services to work together, dramatically reducing setup complexity.
3. The Effective Scanning Workflow: A Step-by-Step Guide
A successful vulnerability management program is a continuous cycle, not a one-off scan.
Step 1: Always Use Credentialed Scans for Maximum Accuracy
An unauthenticated or “black-box” scan is little more than an educated guess. To get truly accurate results and eliminate 90% of false positives, you must perform credentialed (authenticated) scans.
- The Problem: Unauthenticated scans report vulnerabilities based on service banners, which can be misleading. They cannot find missing OS patches.
- The Solution: In OpenVAS, navigate to Configuration > Credentials. Create credentials for your target systems (e.g., an SSH key for Linux, an SMB account for Windows with local admin rights). When creating your scan task, attach these credentials. This allows OpenVAS to log in and see the system from the inside.
Step 2: Master Scan Configurations
The default “Full and fast” scan is a good start, but for efficiency, you should tailor your scans.
- The Problem: Running a full scan with all 100,000+ NVTs against your entire network can take days and generate an overwhelming amount of noise.
- The Solution: Clone the “Full and fast” scan config and create custom versions. For example, create a “Web Server Scan” that only includes web-related NVTs, or an “External Scan” that excludes checks for local Windows vulnerabilities. This dramatically speeds up scan times and makes reports more relevant.
Step 3: Analyze and Prioritize Results Intelligently
A scan report with 10,000 vulnerabilities is useless. The key is prioritization.
- The Problem: Teams try to fix everything, starting with whatever is at the top of the list, leading to burnout and leaving critical risks unaddressed.
- The Solution: Use the OpenVAS filters to create a prioritized action plan. Start with:
- Severity: Filter for High severity findings first.
- Network Reachability: Prioritize vulnerabilities on internet-facing systems.
- Exploitability: Pay close attention to findings that have a known public exploit.
- Business Context: A “Medium” vulnerability on your payment server is more important than a “Critical” one on a non-essential test machine.
Step 4: Manage False Positives with Overrides
No scanner is perfect. When you encounter a false positive, don’t just ignore it.
- The Problem: The same false positive appears in every scan report, creating noise and wasting analysts’ time.
- The Solution: Use the Overrides feature. You can create an override for a specific vulnerability on a specific host, marking it as a “False Positive” and providing a justification. This permanently removes it from future reports, allowing you to focus on real issues.
4. Advanced Automation and Integration
To truly rival enterprise solutions, you must automate. OpenVAS’s open nature makes this easy.
- The Problem: Manually launching scans and generating reports is not scalable for a large enterprise.
- The Solution: Use the
gvm-toolsPython library. It provides command-line tools and Python modules to interact with the OpenVAS API. You can write simple scripts to:- Automate the creation of new scan tasks.
- Start and stop scans based on a schedule.
- Automatically download reports in XML or CSV format.
- Ingest the results into a SIEM like Splunk or a custom dashboard.
This level of automation, which often costs extra with commercial tools, is available for free with OpenVAS, putting true Continuous Threat Exposure Management (CTEM) within reach.
5. Conclusion: Stop Paying for What’s Free
The narrative that effective vulnerability management must be expensive is a relic of the past. With its comprehensive vulnerability database, robust scanning engine, and powerful reporting capabilities, OpenVAS has proven itself to be a more than capable alternative to commercial scanners for the vast majority of organizations. By embracing OpenVAS, you can build a world-class vulnerability management program, free up hundreds of thousands of dollars in your budget, and invest in what truly matters: the people and processes that defend your organization. For anyone looking to start a career in this field, mastering OpenVAS is a critical step outlined in our How to Become an Ethical Hacker guide.
SOURCES
- https://www.datamation.com/security/openvas-vs-nessus/
- https://www.secopsolution.com/blog/nessus-vs-openvas-vs-athera-which-one-fits-msps-in-2025
- https://forgesecure.com/openvas-vs-nessus/
- https://www.greenbone.net/en/vulnerability-scanner-openvas-vs-nessus/
- https://www.comparitech.com/net-admin/nessus-vs-openvas/
- https://www.infosectrain.com/blog/nessus-vs-qualys-vs-openvas/
- https://gorilla360.co.uk/nessus-vs-openvas-vs-qualys-leading-vulnerability-management-tools-in-2025/
- https://www.intruder.io/blog/openvas-vs-nessus
- https://www.softwaresuggest.com/compare/nessus-vs-openvas
- https://www.tenable.com/nessus/competitive-comparison
")